Facebook Pixel: Everything you need to know
Table of contents
According to Jacksonville Advertising Agency, most new advertisers make the mistake of trying out a couple of campaigns and then giving up on the whole idea rather than mastering the craft. Using Google Tag Manager (GTM) to assist in the implementation of Facebook pixels will allow you to consistently and easily track conversion and events from the website, allowing you to prove the success (or failure) of the advertising while building valuable data inside of Facebook that can be used for future targeting.
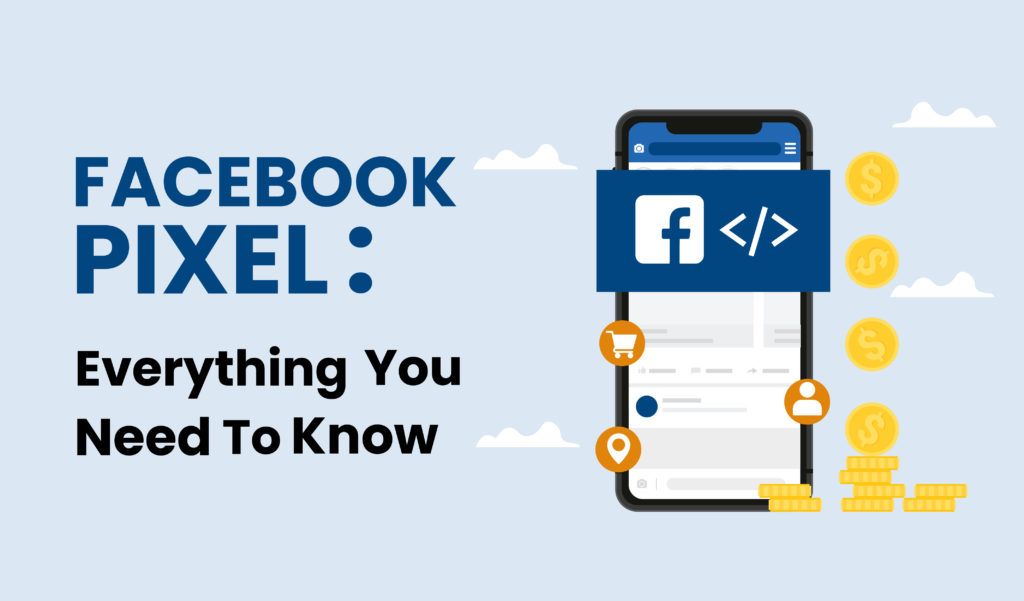
Facebook Pixel is a Facebook-created solution that allows you to measure user/visitor behavior on your website and then track conversions or build audiences based on the information you send. Let’s dig more into it.
What Exactly is the Facebook Pixel?
The Facebook Pixel is a piece of code that can be added to your website explains the experts from a Marketing Agency. It aids in determining the effectiveness of your Facebook ad campaigns by tracking the actions people take on your site and on Facebook. The Facebook Pixel code can be used to track events on:
- Pageviews
- Time spent on page
- Depth of scroll
- Purchase Added to Cart & More
It can also be used to create retargeting campaigns and remarket to people who have completed the desired action or visited a specific page on your website. You will be able to do the following with Facebook Pixel:
Keep track of conversions: Conversion is a significant action (to the business) completed by a visitor/user. By tracking conversions, you will be able to notify Facebook that X visitor has completed the desired action. This means that your reports will show which ads are more effective in meeting your objectives and which aren’t.
Additional targeting options: You can instruct Facebook to find more lookalike people and show your ads to them based on those already converted on your site by tracking specific interactions (such as leads or purchases).
How It Works and what are its elements?
The Facebook Pixel is simply a web programming script designed to report specific visitor actions, such as when a visitor arrives on your website and then leaves after a short period explains the Jacksonville Social Media experts. If you have the Facebook pixel established on the website, you may be able to retarget the visitor via Facebook ads.
Furthermore, after clicking on your Facebook ad, you’ll know that your ad campaign is effective if someone purchases a product on your website. The Facebook pixel can also help you reach out to visitors who have visited your website but have not purchased anything. One of the benefits is that you can quickly determine when a customer takes action after seeing your Facebook ad.
The Facebook Pixel’s Essential Elements
You’ve probably heard of Facebook Pixel, but you’re probably unaware of this tracking system’s key features. Here are the four main components of the Facebook Pixel:
- Analyze cross-device performance: You can track cross-device ad performance to determine which types of ads have the most significant impact on conversions.
- Optimize ad delivery: It’s critical to show ads to the right people. Including Facebook Pixel ensures that you will be able to identify the audience that is most likely to take action.
- Using website visitors, create custom audiences: There is no better advertising strategy than displaying ads to a specific audience that has expressed interest in your product or service.
- Recognize your website visitors: Installing the Facebook pixel has the significant advantage of allowing you to determine the type of audience that visits your website. Obtaining insightful data will enable you to improve your marketing strategy.
How do I obtain the Facebook Pixel code?
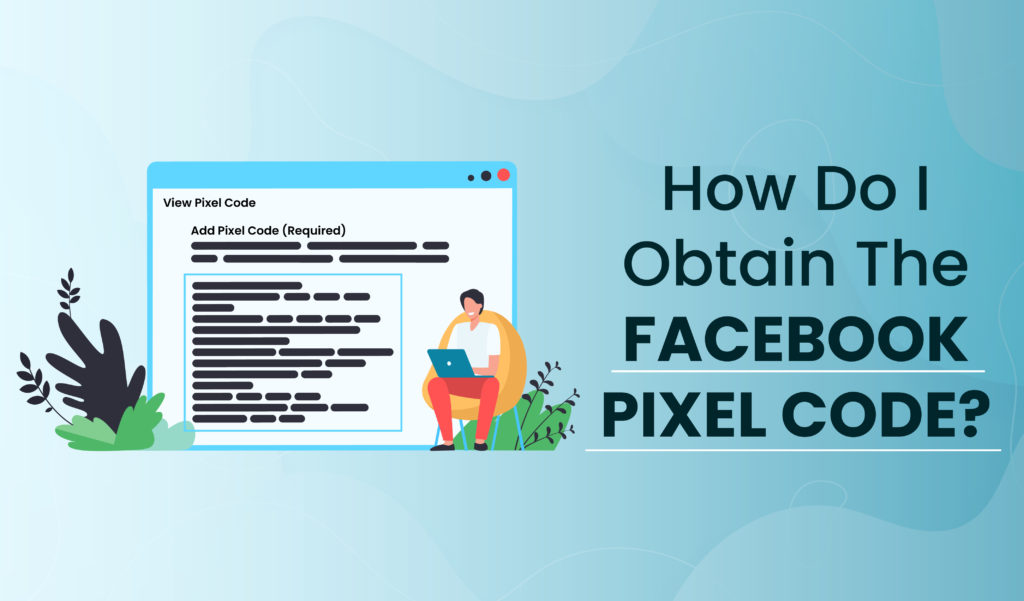
Since Facebook’s user interface is constantly changing, there is a good chance that my screenshots will differ from what you see. In fact, in one of my GTM workshops, four people simultaneously saw different interface versions. So, if you don’t find what you’re looking for, keep looking. First and foremost, go to the Facebook Pixel Business Manager and obtain the Pixel ID (required in the following chapters of this blog post). Click the menu icon in the upper right corner and select Events Manager. One of the beautiful things about Facebook Pixel is that it can be used on your website in various ways.
Using Google Tag Manager, we’ll go over how to implement the default (All Pages) Facebook pixel, which should fire on all website pages, and Facebook event codes, which should fire on specific events (user actions). We’ll look at two approaches to implementing the Facebook pixel code via GTM: using a custom template — a recently announced feature of GTM and using custom HTML.
Making Use of a Custom Template as A custom template, as previously stated, is a relatively new feature in GTM. Custom templates allow you to spend less time on implementation (if you are not creating those custom templates). When less time is spent on performance, more time can gain valuable insight and further optimize. And we all know what that means: more analytics value!
We’ll start by creating our default Facebook Pixel in the Facebook Events Manager interface. When you make your Pixel, a popup window will appear. You will be given several options for implementing your Facebook Pixel, and we want to go with the first one: Use a Tag Manager or an Integration. Choose GTM as your solution, and you’ll be asked if you wish to do a quick or manual install. You can do a fast install, but for the sake of this post, we’ll do a manual install. The following window will show us how to implement the base pixel code as well as any event code we want to use. You must add the Facebook Pixel custom template from the Community Template Gallery to your workspace in GTM. There are three ways to access the gallery:
1. From the top-right New Feature notification. Click the Browse templates button to the right.
2. Based on tag configuration. Create a new tag, then navigate the Tag Configuration section to discover more tag types in the Community Template Gallery.
3. From the left navigation, select Templates. Select the desired custom template by clicking on Search Gallery. Once in the gallery, look for the Facebook Pixel by “gtm-Templates-Simo-Ahava” and choose to add it to your workspace.
How to Setup Facebook Pixel?
Now that you understand its purpose, you can install the Facebook Pixel on your website. To accomplish this follow the steps outlined below:
- Set up a Facebook Pixel
First, you must create your Pixel. Navigate to your Facebook Events Manager and select Connect a Data Source > Web. To proceed, choose Pixel Facebook and click Connect. Then, add Pixel information.
- Integrate the Facebook Pixel into Your Website
The Facebook Pixel can be integrated in three ways:
- Installation by hand
- Using a tag manager or integration
- Sending instructions to a developer via email
Let’s take a more intimate look at each option:
- Manually add the Facebook Pixel to the website.
When the Facebook pixel is displayed on every website page, it performs best. However, you do not need to include it on every page; have the pixel code in your website’s global header. Copy the FB pixel code and paste it in the middle of the header code, before and after, and then click Save Changes.
- Install the Facebook Pixel in Shopify using an integration.
If you have a Shopify store, then you can set up your Facebook Pixel by following these steps:
- Open your Shopify admin, go to the Sales channels tab, and select Facebook.
- Go to Settings > Data Sharing Preferences.
- Continue scrolling until you reach the Customer data-sharing section.
- Now, click on the drop-down menu and choose Enable Data Sharing.
- Choose your Pixel from the list or create one by following the on-screen instructions.
- You’re done when you click Confirm.
- Request that a developer adds the Facebook Pixel code to the website.
If a web developer maintains the website, you can also email them instructions and code to add the Facebook Pixel. Select Email Instructions to a Developer and enter the developer’s email address. Once the code has been added, use the Facebook Pixel Helper to verify that it is working correctly. Facebook Pixel Helper also alerts you to errors, allowing you to redo the installation steps to ensure that everything is working correctly.
If the Pixel Helper displays no errors, you can begin viewing real-time event and conversion data in your Facebook marketing campaigns. It stands to reason that installing the Facebook Pixel is as simple as copying and pasting. After all, having the Pixel on your site encourages you to advertise on Facebook and Facebook-owned Instagram. That pleases Facebook.
Facebook is also happy for you to use the Pixel because you are assisting Facebook in building richer profiles of its users, whether you advertise with them or not. Facebook can learn about what its users are doing away from the platform with its tracking pixel dispersed across the internet.
Facebook Pixel: Common Events
The actions on the website are referred to as events in Facebook Marketing. Standard events are Facebook-defined actions essential for tracking URLs, conversions, optimizing campaigns, and building audiences. These are the everyday events that can be tracked with your Facebook Pixel. The following are the 17 classic events:
- Search: To examine the searches made on your website or app.
- Begin the trial: It refers to the beginning of a free trial of a product or service that you provide.
- Submit your application: For the submission of product, service, or offer applications
- Add to shopping cart: You can add a product to your shopping cart during an online purchase.
- Add this to your wishlist: To investigate the process of adding products to a wishlist.
- Subscribe: To track the start of a paid subscription that you sell.
- View the following content: Learn about the visits to a website or landing page.
- Purchase: To indicate the receipt of an order or the completion of an investment.
- Schedule: For Making a work appointment or meeting
- Lead: The submission of a request to be contacted by the company later.
- Include the following payment information: Ensure that customer payment information is entered during checkout.
- Completing your registration: A customer’s submission of required information in exchange for a service provided by you
- Contact: A person who can be reached by phone, SMS, email, or chat.
- Personalize the product: Using a tool you own, customize the product to meet the customer’s needs.
- Donate: To make a financial contribution to your organization or cause.
- Locate the following locations: To ensure that your area is discovered via a web search.
- Begin the checkout process: To investigate the start of a checkout process.
How Do You Use the Facebook Pixel to Target People?
If we’re being technical, the code doesn’t target anything. Instead, it serves as the foundation for targeting. It is up to you to instruct Facebook on how to target. You can create “Custom Audiences” in your Facebook Business Manager with rules ranging from simple to complex. The Facebook Pixel will track all Facebook users who have looked at your sunglasses and when they did so. So, for example, you could create a Custom Audience of people who have visited your website’s “sunglasses” pages in the last 30 days.
Over the last few years, social media marketing has evolved and can be effectively used as a marketing tool. As new platforms and trends have given influencers more opportunities, these changes have presented new challenges for brands in developing new marketing strategies. As a result, the simplest way for brands to avoid being crushed by their competitors is to embrace new digital marketing tactics and get along.
Facebook ads are an essential component of any digital marketing strategy. Most people don’t get their hands on it or fail miserably because they don’t learn how to use it. Using Facebook Pixel, you can create custom audiences based on users who arrived at your site via specific ads, set up automatic bidding to target those more likely to convert, and track conversions back to your Facebook ads. Using GTM to implement your Facebook Pixel and the new custom template feature is a simple way to accomplish this. You can also reuse triggers you’ve already created for Google Analytics events.

